
Unleashing Virtualization Power: Installing Proxmox on ZimaBoard

Introduction
Proxmox Virtual Environment (Proxmox VE) is a powerful open-source virtualization platform that offers an efficient way to manage virtual machines and containers. When combined with the robust ZimaBoard single-board computer, users can create a versatile and cost-effective virtualization solution for various applications. In this blog post, we will guide you through the step-by-step process of installing Proxmox on ZimaBoard, enabling you to harness the full potential of virtualization in your home lab or small business.
- Preparing the ZimaBoard
Before installing Proxmox on ZimaBoard, ensure that you have the necessary components, including:
- ZimaBoard with the latest firmware.
- A microSD card (16GB or larger) for the installation.
- A compatible power supply and network connection.
- Downloading Proxmox VE
Visit the Proxmox VE website (https://www.proxmox.com/proxmox-ve) and download the latest ISO image suitable for your ZimaBoard’s architecture (e.g., ARM).
- Flashing the Proxmox VE ISO
Use a tool like Etcher (https://www.balena.io/etcher/) to flash the Proxmox VE ISO onto the microSD card. This will create a bootable installation medium for your ZimaBoard.
- Booting into Proxmox Installer
Insert the microSD card into the ZimaBoard and power it on. Ensure that the board boots from the microSD card, and you will be greeted with the Proxmox VE installer.
- Proxmox VE Installation
Follow the on-screen prompts to set up Proxmox VE on your ZimaBoard. You will be asked to choose the installation target (e.g., the microSD card or an external USB drive), set the root password, and configure network settings.
- Accessing Proxmox Web Interface
Once the installation is complete, you will see the IP address assigned to your ZimaBoard on the screen. Open a web browser on a computer connected to the same network and enter the IP address to access the Proxmox VE web interface.
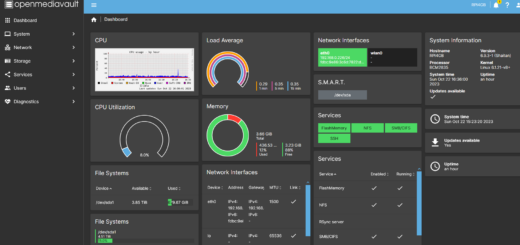
- Configuring Proxmox VE
Log in using the root credentials you set during the installation. From the web interface, you can configure storage, network interfaces, and other settings to suit your requirements.
- Creating Virtual Machines and Containers
With Proxmox VE successfully installed on ZimaBoard, you can now create virtual machines and containers. Use the web interface to add new virtual machines, specify resources, and install guest operating systems. Additionally, you can deploy lightweight containers using popular technologies like LXC.
- Managing Proxmox VE
The Proxmox VE web interface provides comprehensive tools for managing your virtual machines and containers. You can start, stop, migrate, and even monitor performance directly from the interface.
Conclusion
By combining the power of Proxmox VE with the versatility of ZimaBoard, you have unlocked the potential for virtualization in your home lab or small business. Proxmox VE’s intuitive web interface and powerful features allow you to efficiently manage virtual machines and containers, while ZimaBoard’s performance and affordability make it a perfect match for this virtualization platform.
With Proxmox VE running on your ZimaBoard, you can now explore a myriad of possibilities, from creating test environments and development servers to hosting web applications and running various services. Embrace the world of virtualization and unleash the full potential of your ZimaBoard with Proxmox VE at the helm. Happy virtualizing!